The term “travel photography” usually applies to photos taken while travelling to other countries or places at a certain distance from where you live. Many of us travel every day, a short distance at least, to and from place of work or study, in our home town or where ever we happen to be living. We just don’t think of it as travel when we move about in our own little neighbourhood. Maybe we should.
In the following I attempt to outline what I think is a good approach to taking pictures in general, not necessarily only when travelling. By taking pictures I mean – in general – taking pictures with a regular (SLR) camera of a certain quality, even if this would apply to all kinds of “picture-taking”.
- Check out some of the galleries for inspiration!

What should you bring?
First of all, there is a practical side to taking pictures while travelling. Planning ahead is important but you might need less ‘stuff’ than you think. Bring extra batteries, memory cards and a tripod if you think you will need it, but unless you are working on a special assignment for a magazine or that you plan to take razor-sharp high resolution pictures or portraits of people on the far side of a market square, I would suggest keeping it as simple and light as you can. After all, 99 percent of all the photos that we take are viewed and shared on-screen and on-line, (forever) resting in a digital state on your hard-drive, your own blog, or on one or more social media servers. Picture quality does matter, but quality while traveling is also a matter of comfort and enjoyment. Carrying a heavy bag or a big camera around your neck will wear you out sooner than you think.
So if you plan to spend the days simply walking the streets, taking pictures of people and situations, visiting monuments and famous places, then a handy camera with a wide angle lens and a zoom, or better still, only one lens that goes from wide to zoom might be all you need to capture those moments.
The present moment
“Photography is about being exquisitely present”
– Joel Meyerowitz
Again, taking pictures while travelling is in practical terms the same as taking pictures in your own home town. However, the excitement you may feel before and during a trip tend to awaken our senses, we become more alert, more attentive so to say. Everything seems new and fresh. Somehow we seem to appreciate each moment and the highlights more than when we are in a familiar place. In short, being attentive makes you, potentially at least, a better photographer. It will definitely make your life better, but I’m digressing.
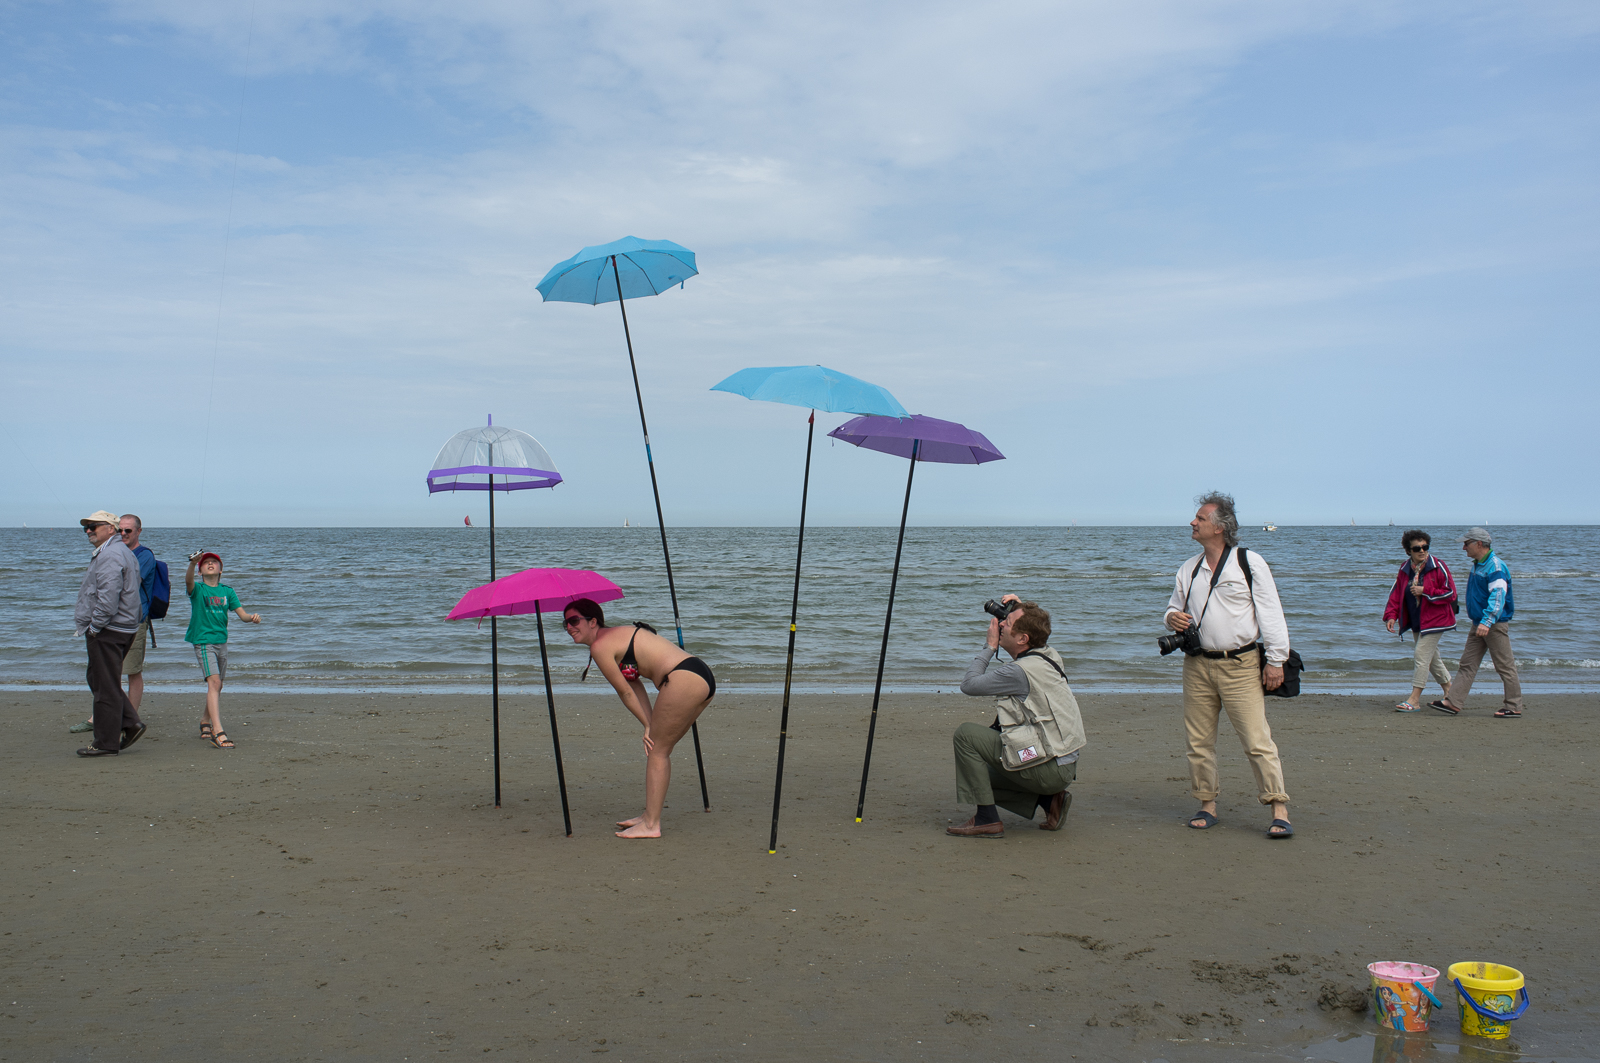
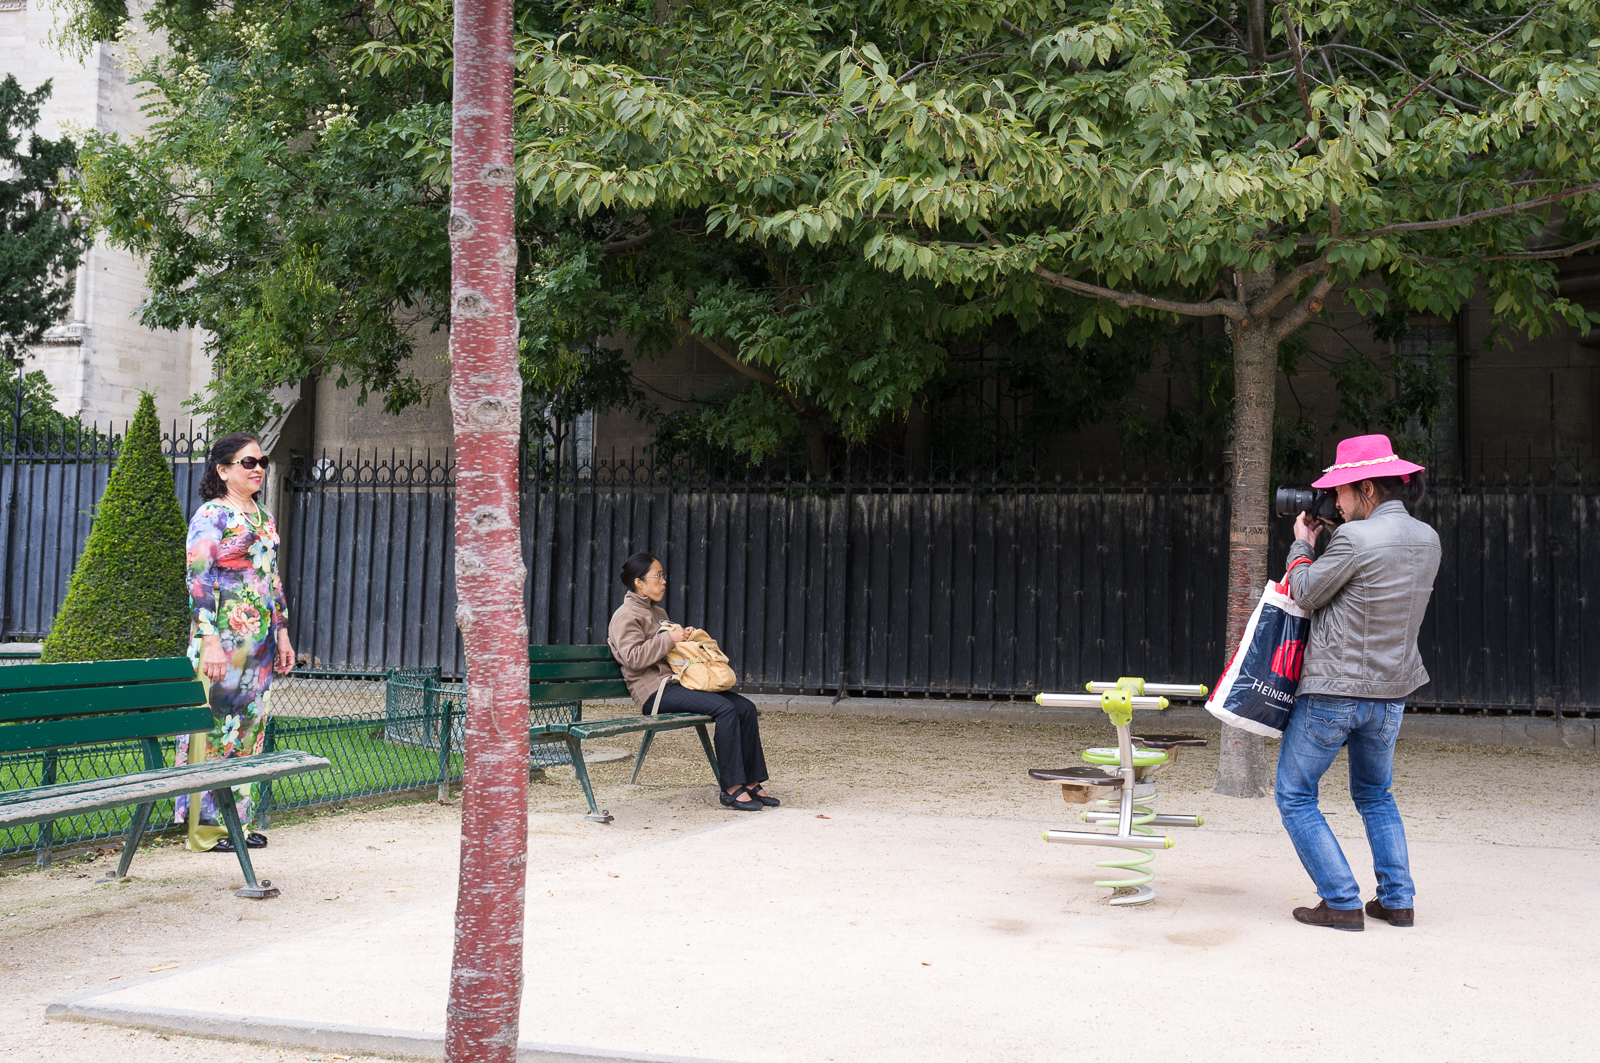
People, faces, expressions, the light on a church facade or over a landscape all seem so much more alive when we open our senses and live in the present moment. My point is that unless you are paying attention you will miss a potentially good [photo] moment. Personally I find it much easier to take pictures when I am alone. It allows me to spend as much time as I like on a certain subject. If you are travelling together with someone, think of them as a one of the locals, try to catch them in one of those moments that makes for a good memory for both of you, as well as a good photo. There is always time for the usual snapshots.
Capturing light
It goes without saying that photography is all about capturing light and light changes all the time. Go see the same food market or monument early the morning, when it rains, at night when the lights come on, or even when it is empty. When you see something you like, think composition and take many shots of the same scene from different angles, zoomed in or out. Most cameras come with a screen on the back. Try using it instead of the viewfinder. The point is that when you use the viewfinder you exclude yourself. It is a bit like looking through a keyhole, peeking at the scene in front of you. It works best when you know exactly what you want. With a screen you can somehow see yourself as part of the surroundings. In either case, try to be aware of how you position yourself and try to find a spot that feels right, relative to the subject. Look at the lines, the shapes and the colours in the scene, then frame and compose the picture. The majority of photos taken by experienced photographers look “right” simply because they are skilled at framing what they see.
Post production
Sorting through hundreds or thousands of photos from your latest trip is fun but it can be very time consuming. Fine-tuning your shots before sharing them is important but not always necessary. There are numerous good programs available out there that makes the job quite enjoyable. In fact, I would say that they are indispensable. There is so much to learn from studying your own photos. Look at them, play with them.

Jpeg vs Raw
The jpg file format is the standard format for digital photography, and rightly so. That being said, I would in any case recommend the Raw format since this format gives you so much more to work with. Give it a try if your camera and software support it. Jpg is a great format but it is important to know that the jpg file is an optimal and compressed version of the picture, almost like frozen pizza (sic!). In most cases the picture will look more or less like you saw it, unless it is wrongly exposed of course. An overexposed picture is typically too white, the whites tend to be “blown out”. There is little or no picture information to be salvaged. If it is underexposed then the shadow areas go towards black and hence there is little room for improvement. For most photos we want details both in the highlights and the shadows.
A jpg format photo straight out of a camera, therefore, tends to be a little too flat, generally speaking. The jpg format is an algorithm that reduces the bits to a 8×8 pixel checker board, kind of. In simple terms; all image data within this 8×8 square is an average representation of the picture. It is this “median quality” that often makes them look bland. There is a lack of punch. Needless to say, an expensive camera takes technically better pictures with more detail and overall quality than an inexpensive one. Look closely at a given photo and see what happens if you lighten the picture just a little, or increase the contrast while keeping an eye on the highlights and shadows. Boost the colours (saturation) but be careful with skin colours in particular. There are endless possibilities here but in my experience; a little bit of tweaking can in fact improve a seemingly dull photo immensely. Finally, save and export your masterpieces for the web or print without reducing (web-optimizing) the picture quality too much.
Ultimately it is you, the photographer’s attention to the present moment, which matters the most.
Asgeir
March 12, 2018